◢ The stack
◢ The build · 6 steps · 12 min
Follow these in order. Don't skip.
01
Step 01 / 06
Sign up with GitHub (the only sane choice)
Go to vercel.com → Sign Up → Continue with GitHub. Why GitHub? Because Vercel auto-deploys every push to main with zero config. Email signup adds friction you don't need.
STEP 01
02
Step 02 / 06
Push your repo to GitHub
Vercel pulls from GitHub. Get your code there first.
Terminal
1cd ~/projects/my-app2 3# Initialize + commit (skip if already done)4git init5git add .6git commit -m "feat: initial commit"7 8# Create the GitHub repo via gh CLI (one-liner)9gh repo create my-app --public --source=. --push10 11# Or manually: github.com/new → copy the remote URL →12# git remote add origin <url> && git push -u origin main03
Step 03 / 06
Import to Vercel
- ▸Vercel dashboard → Add New → Project
- ▸Pick your GitHub repo from the list (you'll authorize Vercel to read your repos on first use)
- ▸Framework preset: should auto-detect Next.js
- ▸Root directory: leave as ./ unless your app is in a monorepo subfolder
- ▸Click Deploy. ~90 seconds. You're live.
◆ You're done when
Vercel just gave you a URL like my-app-xxxx.vercel.app. Open it. Your app is on the internet.
04
Step 04 / 06
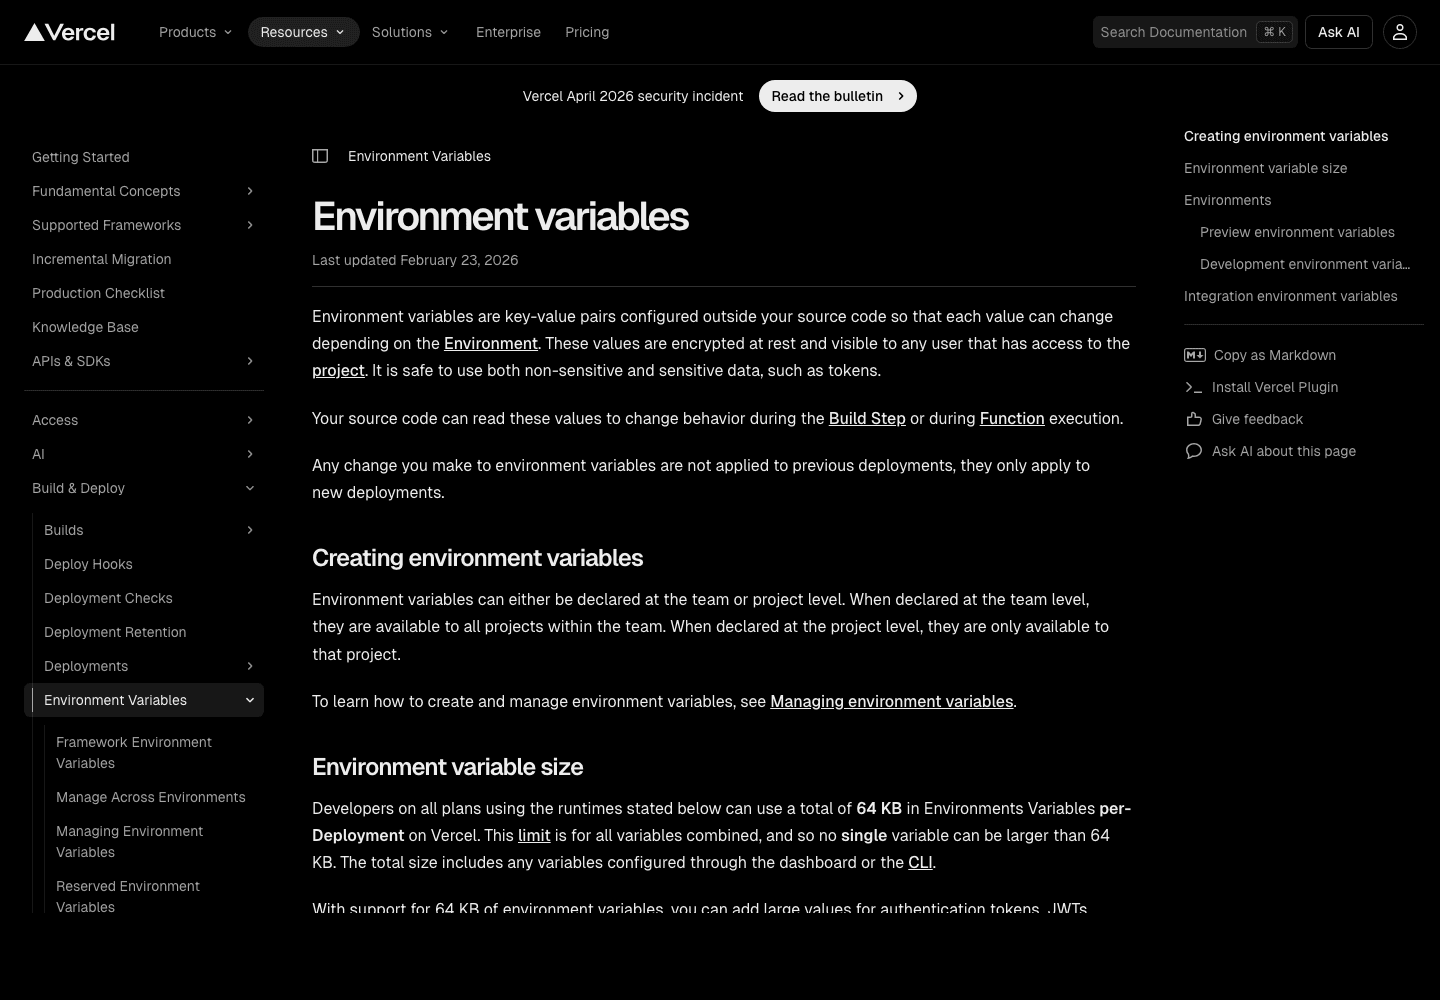
Add environment variables
Your agent needs API keys (OpenAI, Supabase, etc). Never commit them — set them in Vercel.
- ▸Project → Settings → Environment Variables
- ▸Add each key (OPENAI_API_KEY, SUPABASE_SERVICE_ROLE_KEY, etc.)
- ▸Set to all three environments: Production, Preview, Development
- ▸Redeploy: Deployments tab → top deploy → ⋯ → Redeploy
Terminal · pull env vars locally
1# Install Vercel CLI2npm install -g vercel3 4# Link the project5vercel link6 7# Pull production env vars into .env.local8vercel env pull◆ Watch out
Public-facing vars MUST start with NEXT_PUBLIC_. Anything else is server-only and won't show up in the browser. That's a feature, not a bug.
05
Step 05 / 06
Wire up a custom domain
- ▸Project → Settings → Domains → Add
- ▸Enter yourdomain.com
- ▸Vercel shows you DNS records to add at your registrar
- ▸If your registrar is Cloudflare/Namecheap/GoDaddy: add an A record pointing to 76.76.21.21, OR a CNAME at www → cname.vercel-dns.com
- ▸Wait 5–60 minutes for DNS. Vercel auto-issues an SSL cert. Done.
06
Step 06 / 06
Deploy from the CLI for instant feedback
Terminal
1# Preview deploy (any branch)2vercel3 4# Production deploy5vercel --prod6 7# Watch logs in real-time8vercel logs my-app --follow◆ Ship-it checklist
6 CHECKS
- Live URL on vercel.app
- Connected to your GitHub repo (push to main = auto-deploy)
- Environment variables set for Production + Preview + Development
- Custom domain attached (optional but recommended)
- vercel CLI installed and linked locally
- vercel env pull works to sync prod env to your laptop