◢ The stack
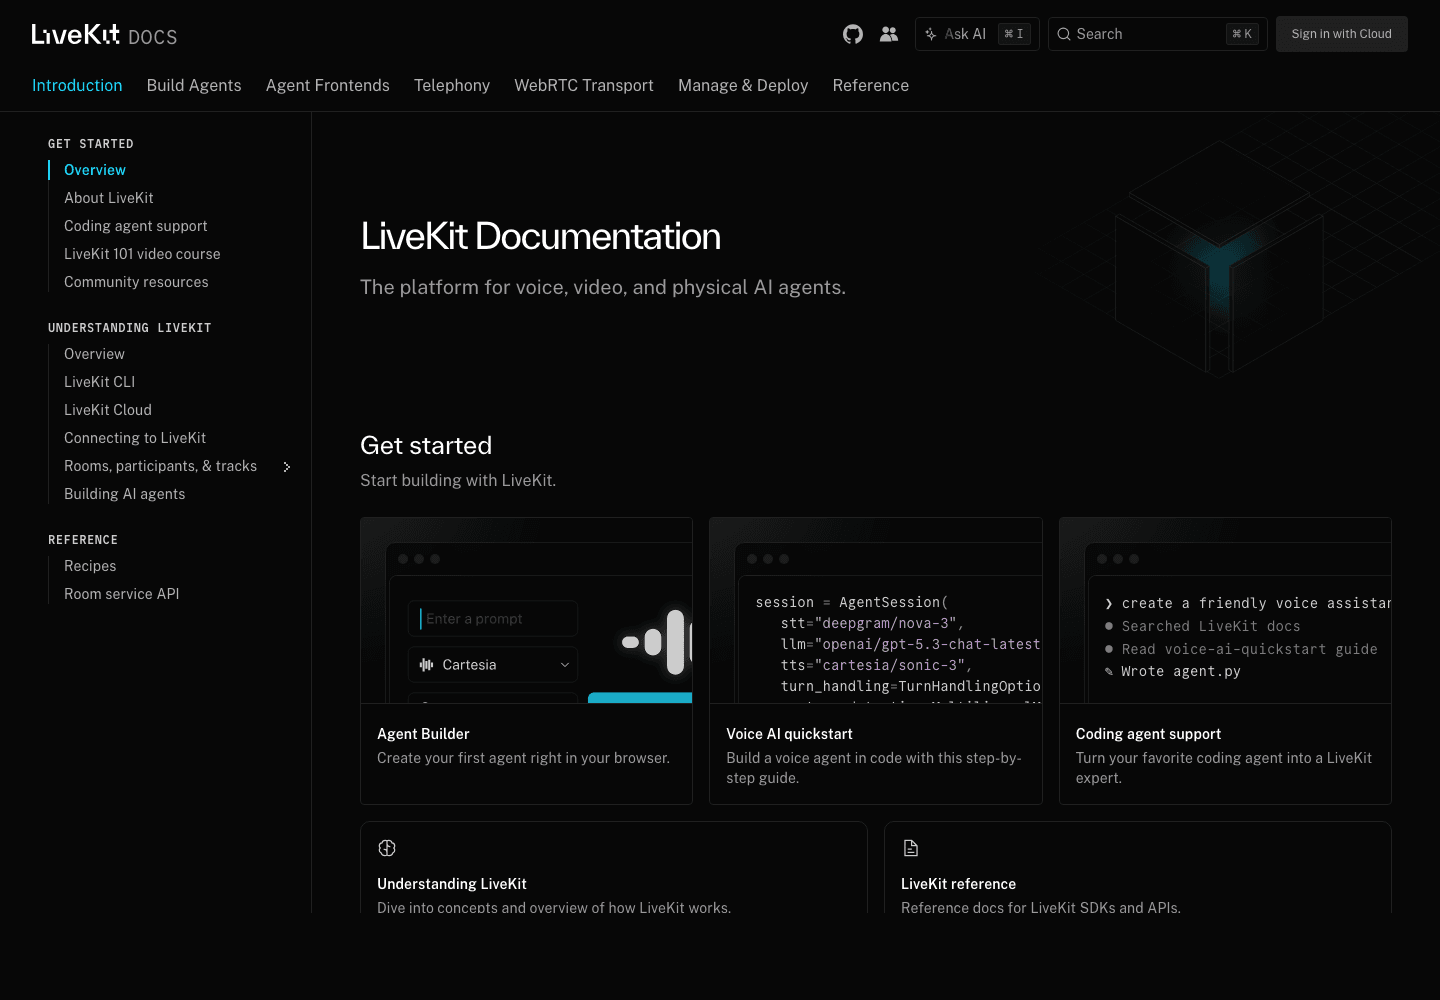
LiveKit Cloud
Realtime voice infra for sub-300ms agent calls
Free 10k min · pay-as-you-go
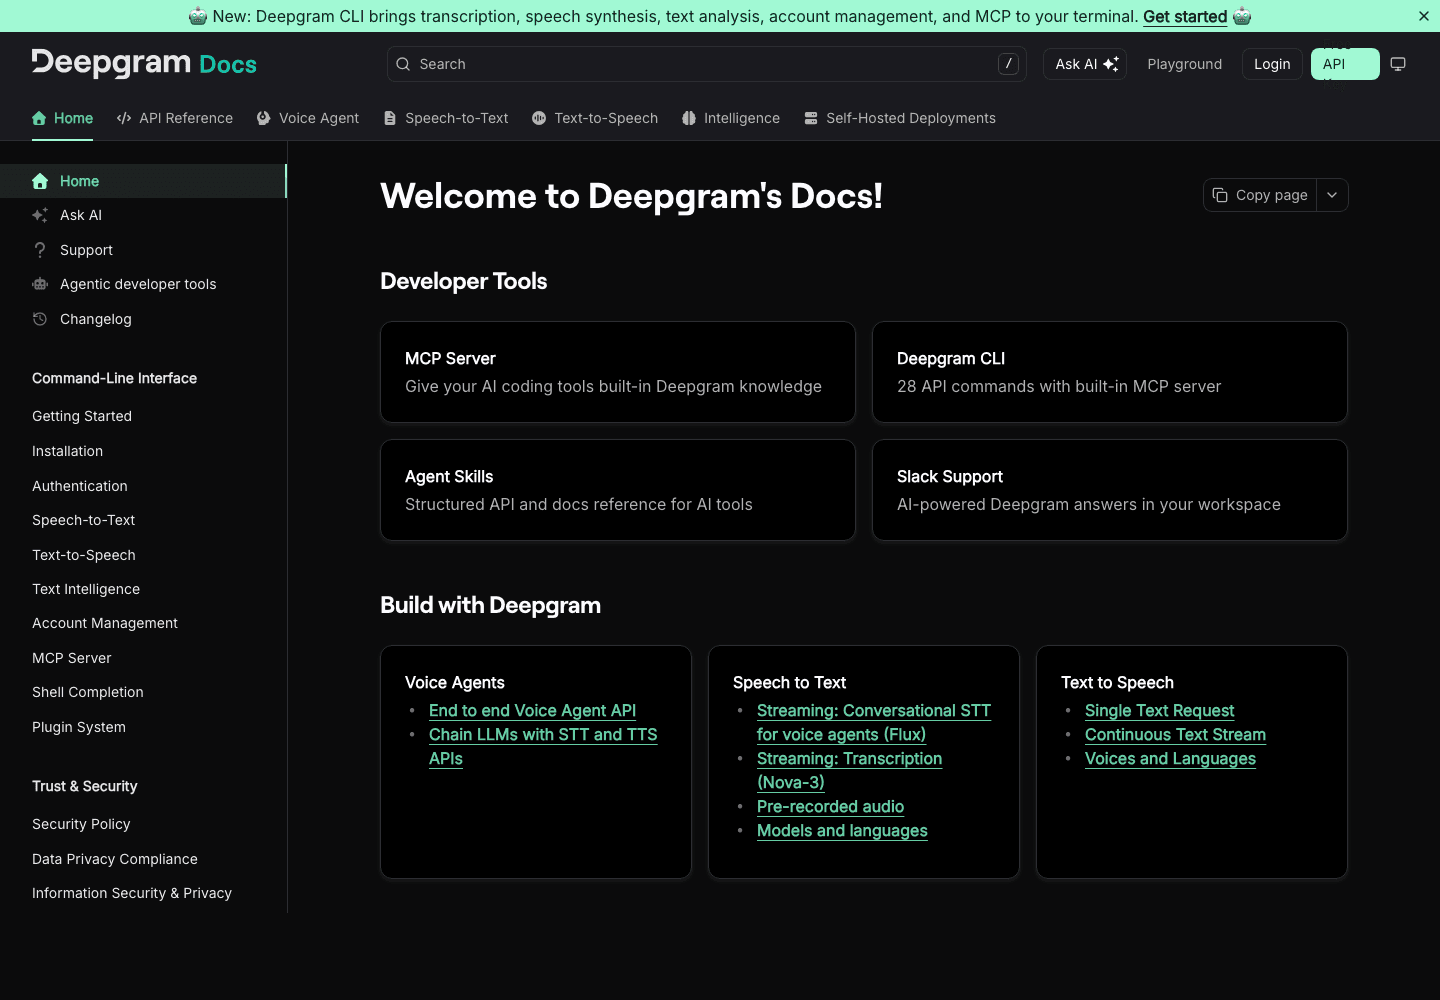
Deepgram
Realtime speech-to-text, lowest-latency transcription
$200 free credit
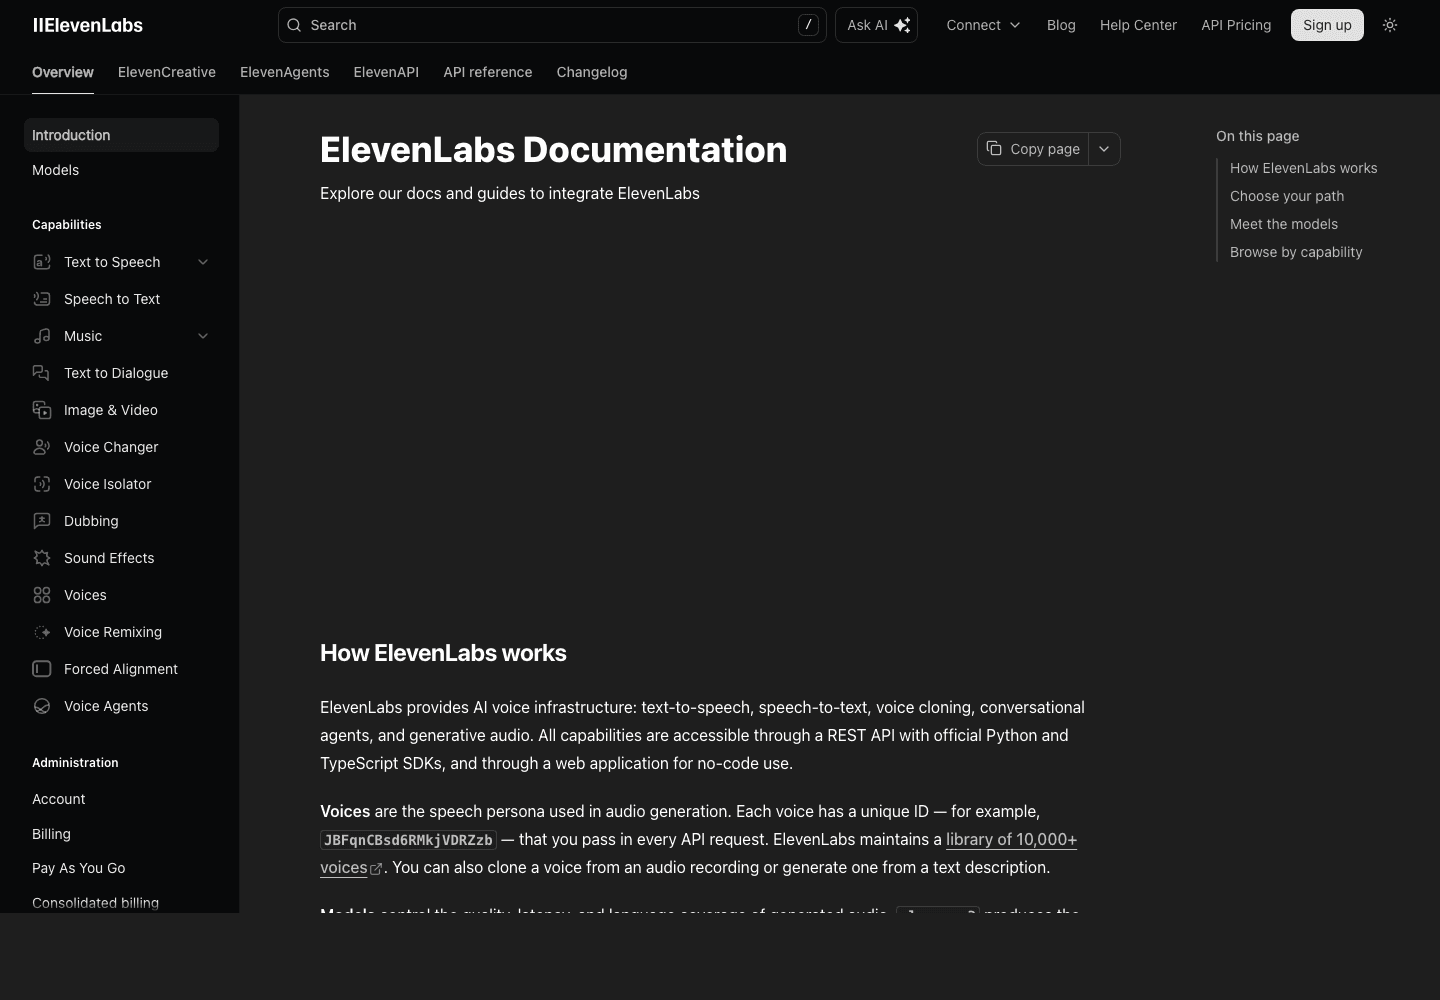
ElevenLabs
Text-to-speech for your agent's voice
Free 10k chars · $5/mo
Anthropic API
Claude API for the smartest agent reasoning
$5 free credit · pay-as-you-go
◢ The build · 4 steps · 18 min
Follow these in order. Don't skip.
01
Step 01 / 04
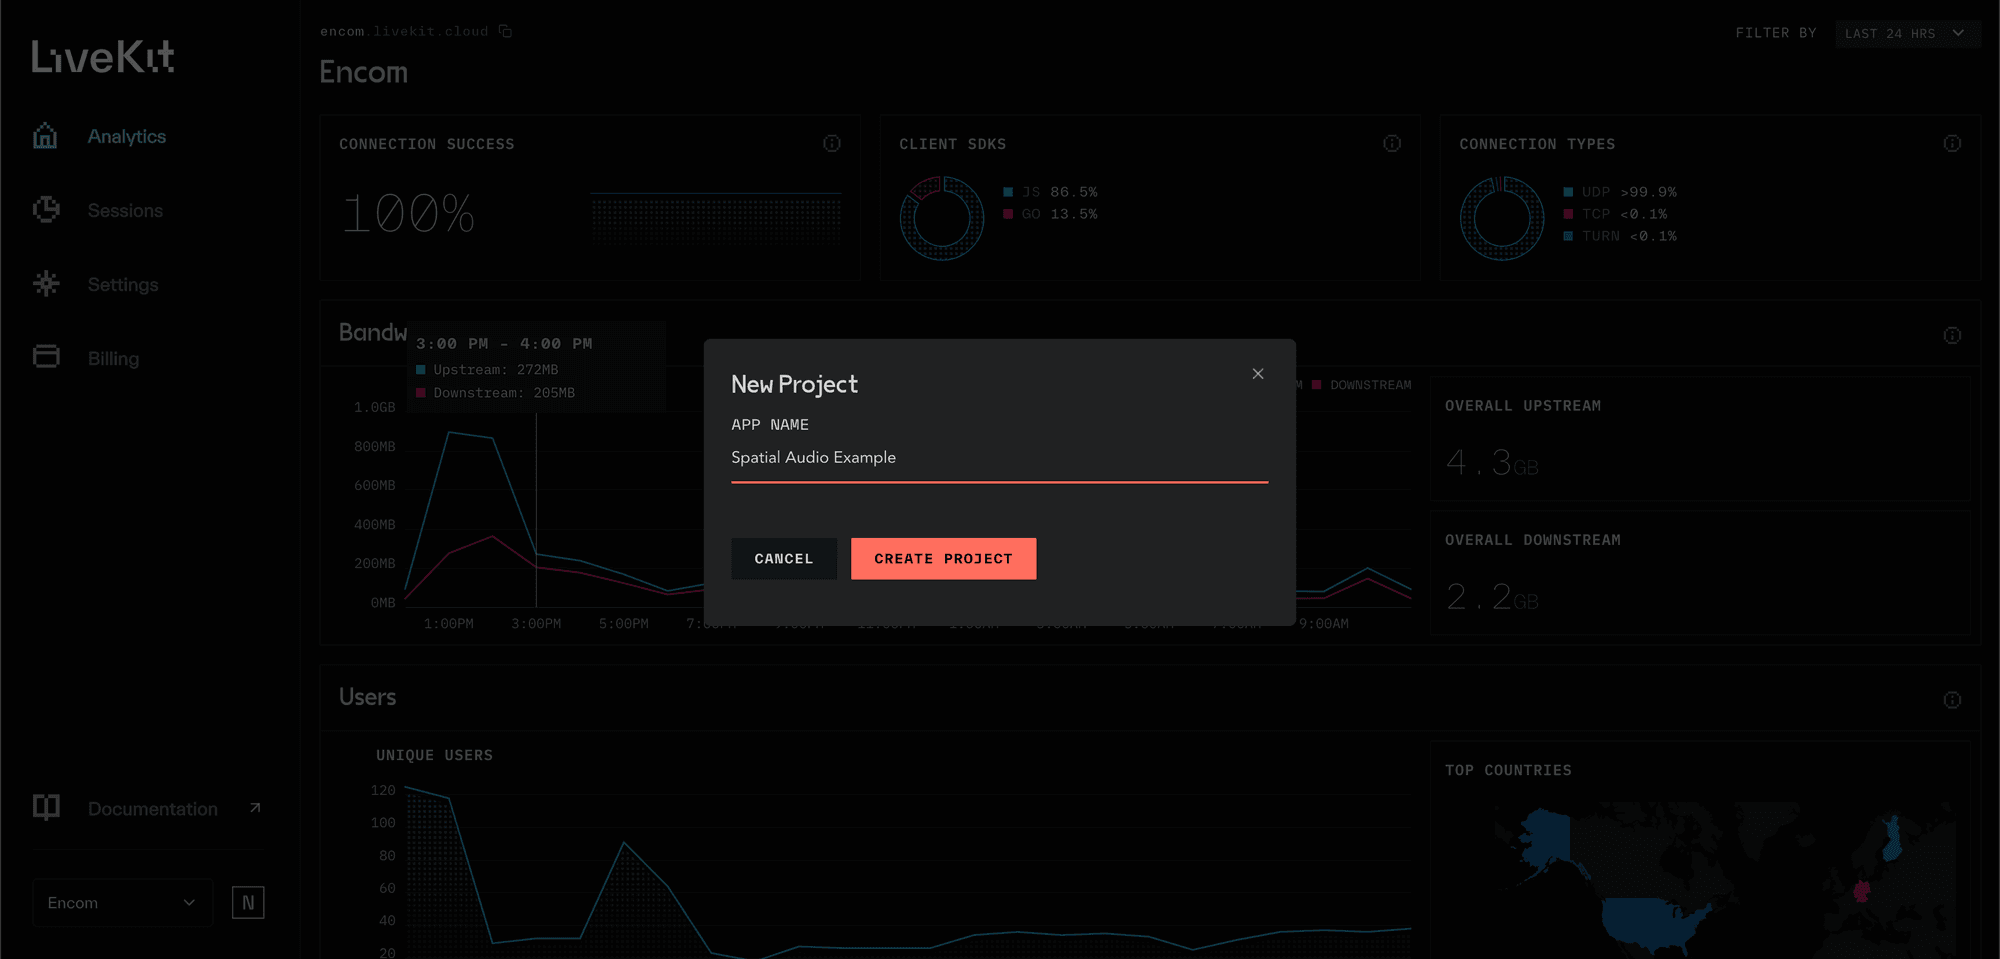
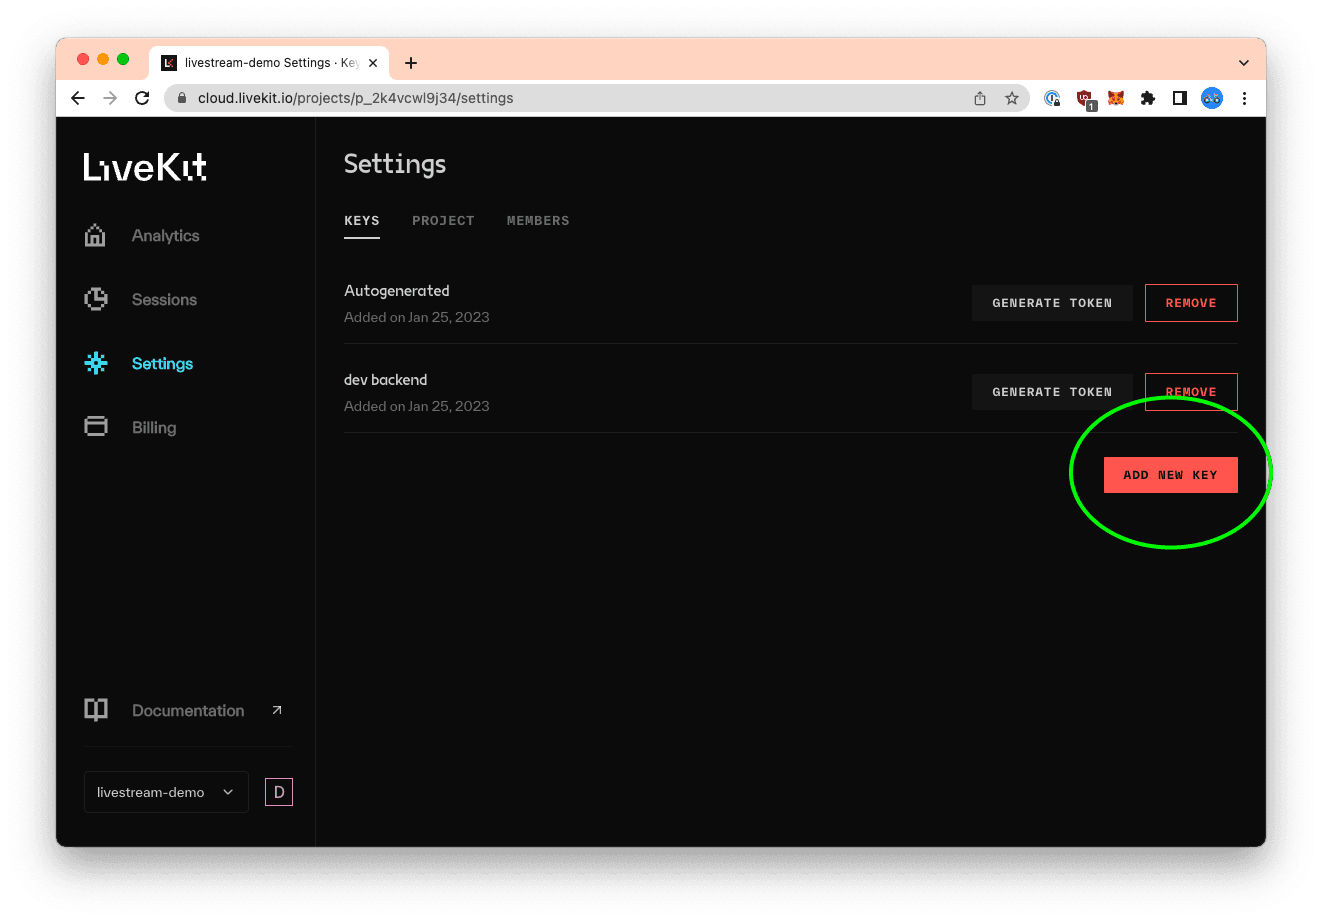
Create your LiveKit Cloud project
STEP 01
STEP 01
.env.local
1LIVEKIT_URL=wss://your-project.livekit.cloud2LIVEKIT_API_KEY=APIxxxxxx3LIVEKIT_API_SECRET=secretxxxxxx4DEEPGRAM_API_KEY=...5ELEVENLABS_API_KEY=...6ANTHROPIC_API_KEY=...02
Step 02 / 04
Install the LiveKit Agents Python SDK
The Agents SDK handles the audio loop — capture, send to STT, get LLM response, stream to TTS — so you write one Python file.
Terminal
1# In a fresh agent/ folder2python3 -m venv .venv3source .venv/bin/activate4 5pip install livekit-agents \6 "livekit-plugins-anthropic" \7 "livekit-plugins-deepgram" \8 "livekit-plugins-elevenlabs" \9 "livekit-plugins-silero" \10 python-dotenv03
Step 03 / 04
Write the agent in ~40 lines
agent/main.py
1import asyncio2from dotenv import load_dotenv3from livekit import agents4from livekit.agents import AutoSubscribe, JobContext, llm5from livekit.agents.voice_assistant import VoiceAssistant6from livekit.plugins import anthropic, deepgram, elevenlabs, silero7 8load_dotenv()9 10async def entrypoint(ctx: JobContext):11 initial_ctx = llm.ChatContext().append(12 role="system",13 text=(14 "You are a friendly receptionist. Answer in 1-2 short sentences. "15 "If the caller wants to book, ask for their name and preferred day."16 ),17 )18 19 await ctx.connect(auto_subscribe=AutoSubscribe.AUDIO_ONLY)20 21 assistant = VoiceAssistant(22 vad=silero.VAD.load(),23 stt=deepgram.STT(model="nova-3"),24 llm=anthropic.LLM(model="claude-sonnet-4-6-20250101"),25 tts=elevenlabs.TTS(voice="Rachel"),26 chat_ctx=initial_ctx,27 )28 29 assistant.start(ctx.room)30 await asyncio.sleep(1)31 await assistant.say("Hi — thanks for calling. How can I help?", allow_interruptions=True)32 33 34if __name__ == "__main__":35 agents.cli.run_app(agents.WorkerOptions(entrypoint_fnc=entrypoint))04
Step 04 / 04
Run the agent locally and talk to it
Terminal
1# Run the agent worker (it connects to LiveKit Cloud and waits for rooms)2python agent/main.py dev- ▸Now go to playground.livekit.io
- ▸Sign in with the same project's URL + key
- ▸Click "Connect" → it joins a room and your agent picks up
- ▸Speak into your mic — the agent responds in 300–600ms
◆ You're done when
That's it. Your voice agent works. Hook it to Twilio for phone numbers, plug in tools (calendar, CRM) via function calling, deploy it as a worker on Render or Fly.
◆ Ship-it checklist
5 CHECKS
- LiveKit Cloud project created, keys in .env.local
- Deepgram + ElevenLabs + Anthropic keys set
- Python venv with livekit-agents installed
- agent/main.py runs without errors
- You spoke to the agent through playground.livekit.io and it responded